This process originates from when only black and white film was around and artists would paint on the prints to make them colour. This can be recreated in photoshop quite simply.
you start off with a black and white image.
you create a new layer and set it to the 'colour' overlay and paint over it.
I started off with the background using very pastel colours and often turning the opacity of the layer down.
I then did the skin tone of the main subject.
I also did the hair in a less saturated colour from the skin tone, I didn't use just grey because it looked unnatural.
I then added the decals in the jacket/overthrow using two shades of red for the strips.
Creative photographic practice
Wednesday, 18 March 2015
Artificial Film Grain Effect.
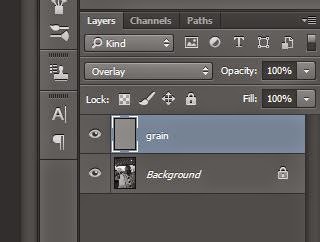
First you start off by making the image black and white. Then I added another empty layer and called it grain for future reference.
You need to fill this layer with 50% grey. You do this by going to edit>fill then selecting '50% grey' on the dropdown menu. The layer then needs to be set to overlay.
On the 'Grain' layer you need to then go to filter>noise>add noise and the pop up window should appear. Make sure you have 'monochrome' ticked as this will only add black and white grain. If you go too overboard you can easily turn the layer opacity down.
This effect was inspired by Tony Ray Jones' work and using fast film in his images to enable him to use faster shutter speeds.
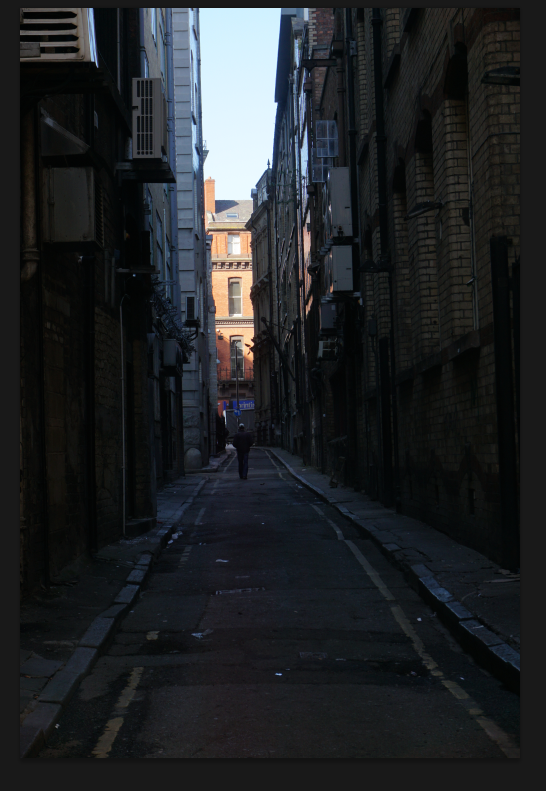
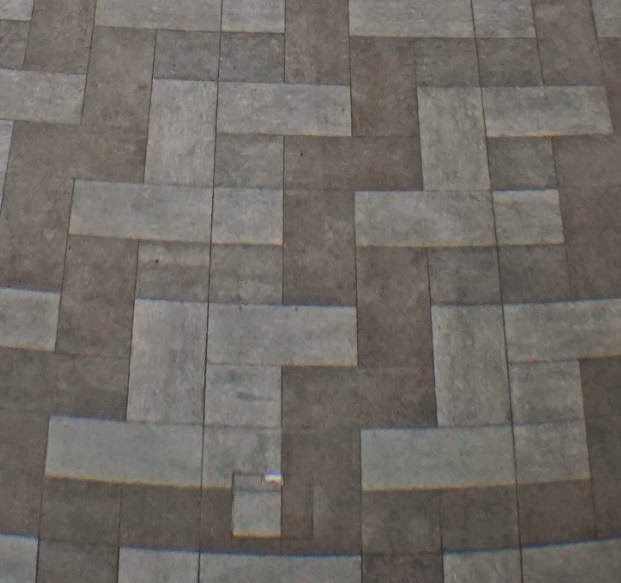
Here are a couple examples of his work
The effect on my image isn't quite as strong as in these images, but these images do have a slightly softer look to them being shot on film.
Monday, 16 March 2015
This is the final outcome. 35 images in a standard 35mm format. All street work and I decided to do something similar to a timeline so all the images are in chronological order and batched together loosely based on location. I did this because that's how standard film would be like. There wouldn't be any moving or selecting images in standard film. Also the film strips in the image are slightly off angled, not perfectly straight as this is similar to what it would be like when just laying out a film roll.
Creating the negative sheet
I start off by selecting an image and process it, to give it the image a certain look similar to what it would be like on an old disposable camera or an old film point and shoot. I did this by essentially turning the contrast down and bringing the highlights down and the shadows up in the raw processing window.
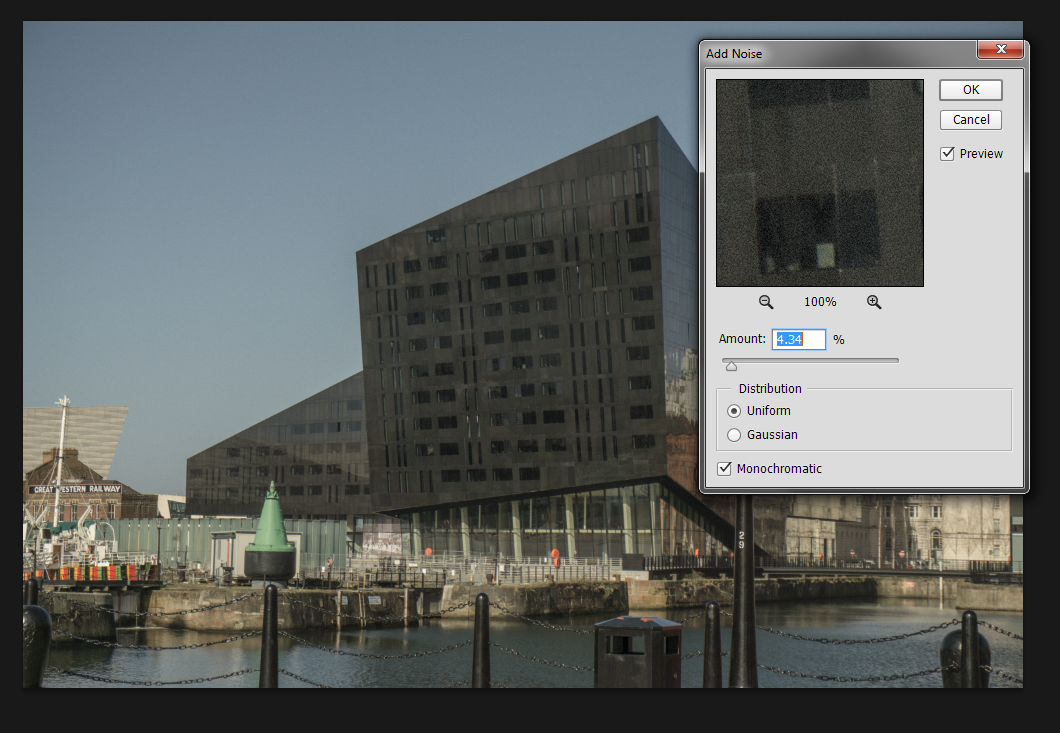
What I did then was add a noise filter to simulate film grain that you see on the old images.
I then duplicated the layer onto the correct document
I then resized the image to the traditional 35mm format (as close as I could) I did this so when the final image prints at a3 size the negatives should be the same size as standard 35mm format.
I then adjusted the image so it would fit into the 35mm template.
For the non raw images I took I used levels to create a similar effect as in the raw processing.
With some of the images, due to the wide end of the lens creating some distortion on the image (a slight fisheye effect at 16mm) I used a lens correction tool in photoshop when shooting architecture so it was more accurate as to what the building was actually like.
With some of the images shot at 16mm where I feel there wasn't too noticeable of distortion I didn't use a lens correction tool but there was quite a big vignetting effect. So here I cropped into the image and also rotated slightly as the image wasn't totally horizontal.
Just to experiment with an otherwise quite a boring image I decided to overlay one of my previous images, it's just an image of traffic hugely out of focus to capture these light spheres. I overlaid this and used the 'screen' layer style and turned the opacity to about 30%
Overall I think this went quite well, and I really like the outcome of the entire piece and does have a classic, vintage style. I haven't gone as far as inverting the images to make it look like actual film because then the images would loose huge amounts of quality and would be quite difficult to decipher what they are (being only 35mm big when printed) I am also thinking of doing a small a5 booklet of all the images.
Wednesday, 11 March 2015
miltiplicity
Firstly you start off by loading the images into a stack, and if you feel as though the tripod may have moved then tick 'attempt to align...'
then click layer mask and paint over the subject with a black brush. nce fully erased invert (ctrl+i) and you will see the subject come back
once complete this process until all the subjects are in the shot.
For my shoot I am planning on creating a sheet of negatives within a traditional negative film format and printing them onto acetate and then putting that infront of a lightbox.
Similarly to these shots, my only concern is time and price, acetate could prove quite pricey and time consuming. However the outcome could work very well for the instillation I am doing. I was heavily inspired by Martin Parr's collection of Tomy Ray-Jones's images of England. Sadly I couldn't get an image of it due to copyright laws in the exhibition.
Similarly to these shots, my only concern is time and price, acetate could prove quite pricey and time consuming. However the outcome could work very well for the instillation I am doing. I was heavily inspired by Martin Parr's collection of Tomy Ray-Jones's images of England. Sadly I couldn't get an image of it due to copyright laws in the exhibition.
Lowkey with Text overlay
 To start with I took a low key image of the model using a single model light and a reflector to bounce some of the flash onto the other side of the face.
I then changed the image to black and white and lightened the red layer to soften the skin and remove any blemishes there might have been.
I then used the type tool to create a text box around the models face, I pasted some song lyrics into the box and wrapped the text to the right.
I tinkered with the different type settings (spacing, heading etc) to make the text a bit more compact together.
I rasterised the text once I was satisfied with the positioning and erased around the edges of her face to make the text only over the highlighted side of her face.
Subscribe to:
Comments (Atom)


